Based on the previous edition of the seminar and workshop held in Nepal in September 2019, called Nest 0.1, We Had the opportunity to improve it into a new version of the Nest, analyzing it in different categories:
- Improve the design and learn from the existing one: what can be standard – and what needs to be bespoke, and what does adaptation to different locations/materials and climates mean to the design.
- Develop aspects of the building that are not yet tackled in the previous seminar: Interior, Energy, Openings, Design Variations, Fabrication Logics, and special detailing
- Local knowledge of materials, tolerances, the flexibility of design and skin, etc. need to be developed further – there is a lot to learn from the first one.
- Embed more clearly information for construction directly on the building parts (as opposed to external documents like plans or files).
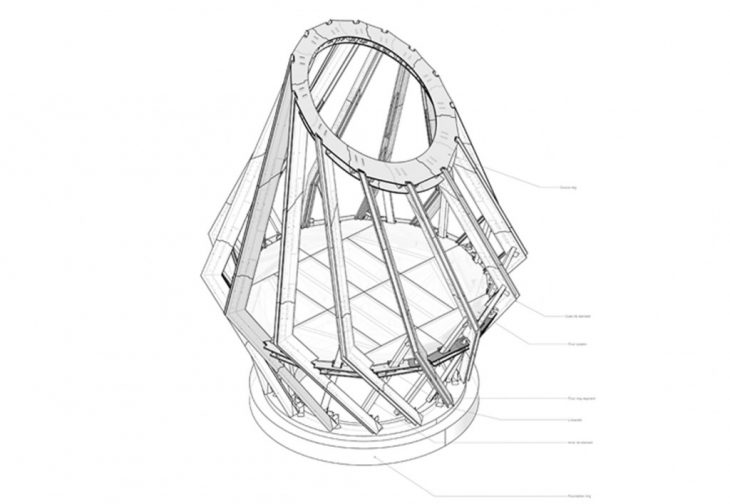
Our group was in charge of ensuring that the Nest’s facade would be water-resistant, for optimal use of inner space.
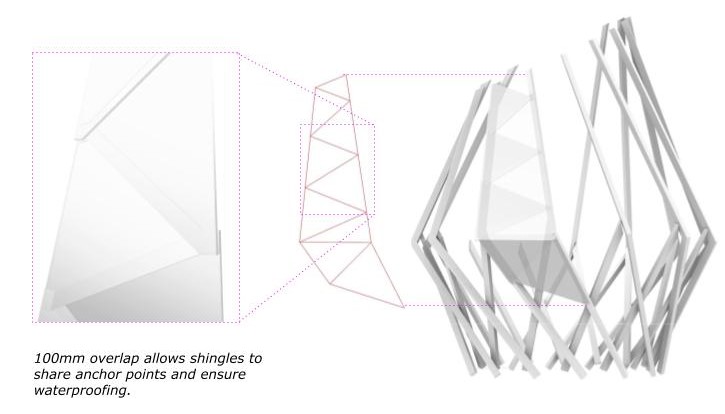
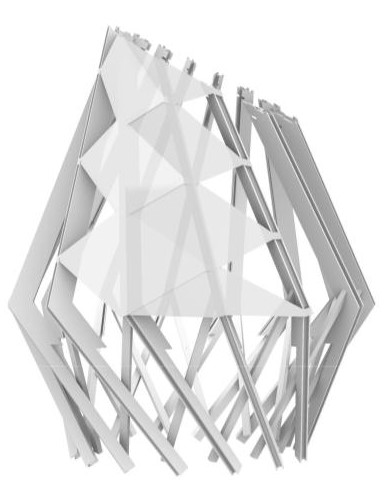
We faced it, creating a shingle triangulated pattern that would cover the entire facade.
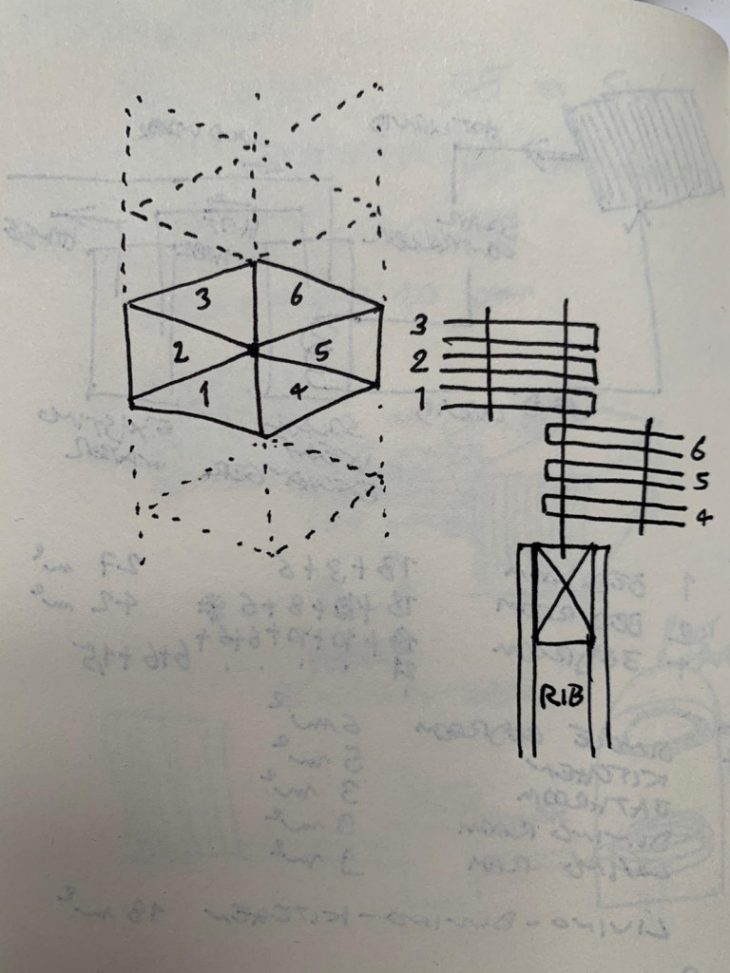
First, we divided the top part of the ribs into six equal parts that we then tried connecting the points in 3 different ways; first, we tried with quads then into a triangular pattern and finally into a diamond pattern.
The proposal from last year:
Stretched fabric membrane, tied back to ribs
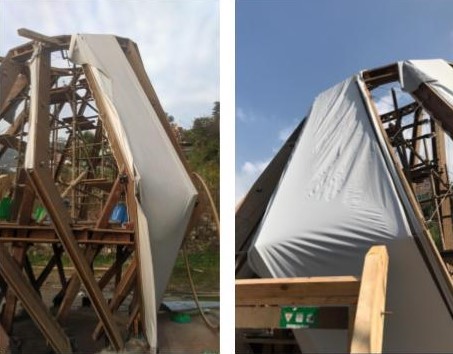
PROS
- Lightweight (easy to transport to the site)
- Simple connections to structure
CONS
- Nonstructural
- Difficult to apply to a standing structure
- Can rip and tear
- Relatively short lifespan
- Not very waterproof
THE Envelop/Skin:
PROS
- Structurally braces the structure
- Planar surfaces (predictable tolerances)
- Quick + easy to hang onto the standing structure
- Long lifespan
- Many possible materials
CONS
- More pieces to cut/bring to the site
- Heavier to bring to the site
- More complex connections
These 3 methods differentiate mainly for the material properties, the quods where thought in textiles; the triangles in treated plywood; and the diamonds in the metal. The junction was the next challenge, we mainly thought about a pin connection, which ends up being efficient even in the 1:2 model.
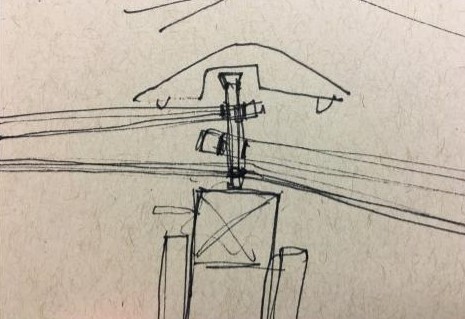
The pin structure is attached directly to the ribs and attached to the skin through bolts, the reason we came up with this solution is that we could build the entire structure from the inside.
Overlapping shingles at the anchor point. Potential waterproofing cap above bolted pin connection.
The Karamba3D Analysis:
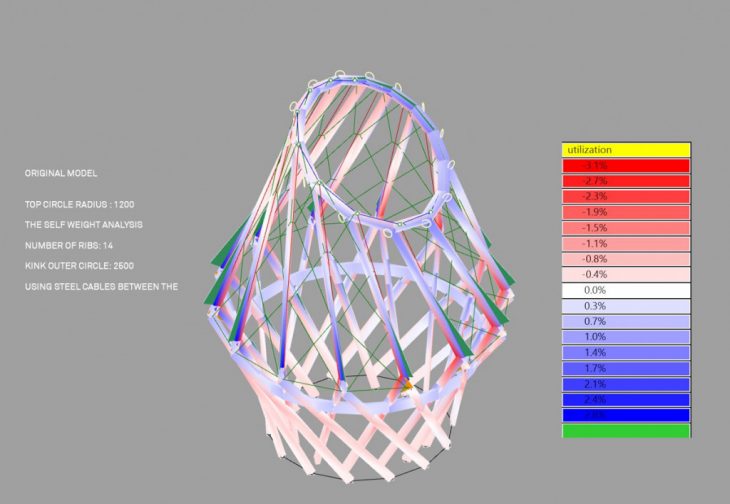

The analysis shows that the proposed skin does have a structural effect but still, the changes are minor to be considered.
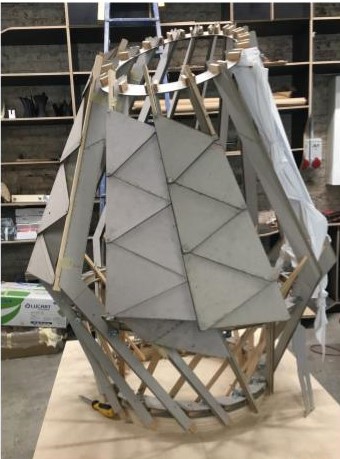
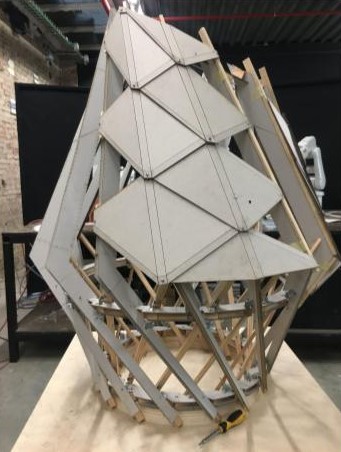
1/5 model adaptation with our proposals
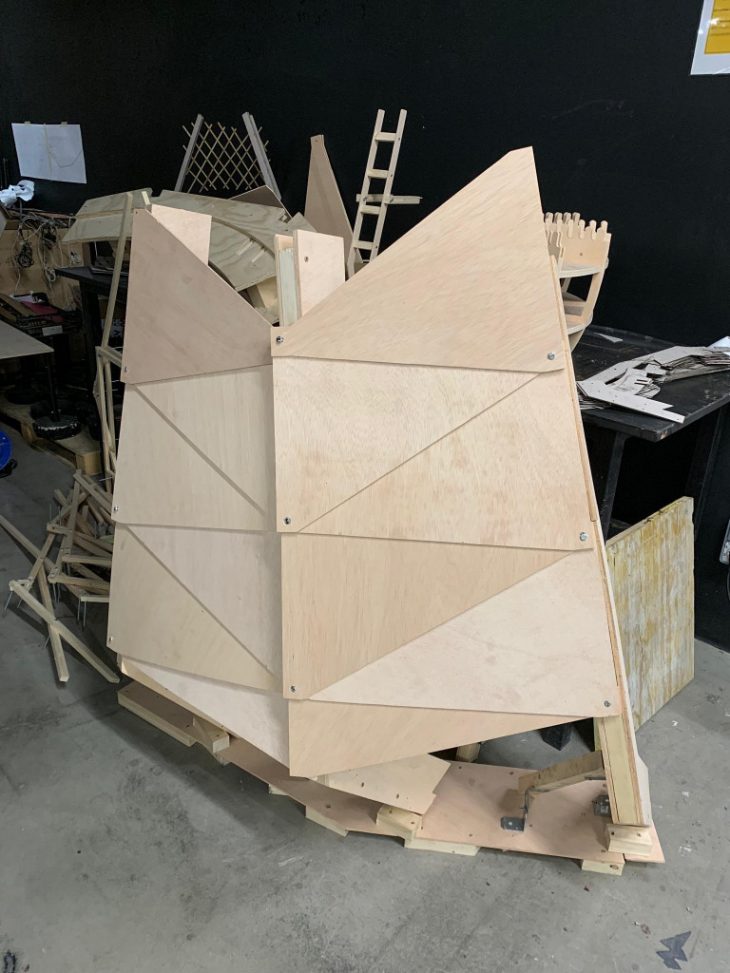
1/2 model of three ribs
Conclusion:
ASSEMBLY:
- Easy to hang and fix.
- It can be flat-packed.
- Not difficult to lift into place on site.
MANUFACTURING:
- Simple 2D templates to cut.
- Simple repeated connection type.
- Tricky tolerances at 1:1 scale.
- Tricky to waterproof pin connections.
PERFORMANCE:
- Enhances structural rigidity.
- Good waterproofing.
- It must be combined with insulation and a humidity barrier layer.
What is the next step?
One of the jury main comments was that a singular pin connection is not practical for any kind of manutention or substitution of the panels.
To improve our design we are thinking of a 3 pins connection for each critical point so that the substitution and the assembly will be facilitated.
